So you love to travel, and the idea of starting a travel blog to document all your adventures. If you fancy yourself qualified to be a travel blogger, then you’re not alone. Starting your own website can be great, but sometimes it can be a little difficult to know where to start. Especially if you have no prior knowledge or experience in creating a blog. To help you get started, here are six top tips for how to start a travel blog…

Photo, John Schnobrich.
1. Pick out a name for your blog
One of the very first things you need to do when starting your own travel blog is to pick out a name. The name you pick out for your blog will also determine your domain name for the site. When picking out a name, there are a couple of things you should consider: First, you want a name that can stand the test of time.
For example, if you pick a website name like ‘Travels across Europe’, what you’re ultimately doing is restricting yourself. What if you get the opportunity to jet-set to other continents? Does that mean you won’t be able to blog about it because you’re outside Europe?
If your blog and domain name restrict your growth, it’s probably not a name you should settle with. Also, try to keep the name short and sweet with a maximum of four words for your blog name. A long domain name may be hard for readers to remember, and you don’t want that. Finally, your name should give a bit of insight into what you do and who you are. For example, a name like ‘Wanderlust Winnie’ shows the reader that you love to travel and that your name is Winnie. Simple.

Photo, Brooke Cagle.
2. Choose a host
The next thing to do in knowing how to start a travel blog is to choose a host. If you are unfamiliar with this term, it entails a situation where a hosting company rents you a space on the internet. A host basically ensures that your blog is available on the internet for other people to view and access.
You cannot have a travel blog without having a host. Now, picking a hosting company is not something you should take lightly. The hosting company you choose determines how fast your blog page loads and how quickly any website-related issues will be resolved for you.
There are a lot of hosting options out there, so it’ll do you a world of good if you carry out a bit of research before making your selection. You can avoid low-rated providers by reading reviews, you can start with this IONOS hosting review. If you live in the UK, one of the best companies to opt for is Hosting.co.uk. They offer 24/7/365 support and lightning-fast loading speed. When you signup for your hosting, you’ll further be able to input your domain name for your blog.

Photo, Stephen Phillips.
3. Create a WordPress account
Once you’ve decided upon a hosting company, you’re going to need to set up your WordPress. The first step involves installing the WordPress software. Once you’ve done this go on to create a WordPress account.
Ideally, your WordPress account should be self-hosted, and this just means that your website should read something along the lines of ‘WanderlustWinnie.com’ as opposed to ‘WanderlustWinnie.Wordpress.com’.
A self-hosted account also means that you’d be able to sell advertising on your site (which you should look forward to if your blog becomes more popular), check your Google Analytics tracking, and install all your themes and plugins.
Keep in mind that you’ll have to learn how to use the WordPress software if you’re not already familiar with it.
Although this might seem daunting, it is rather easy to get a hang of. You can search on YouTube for tutorials on how to manoeuvre through WordPress if you need a bit of extra help.
Photo, Justin Morgan.
4. Themes and plugins
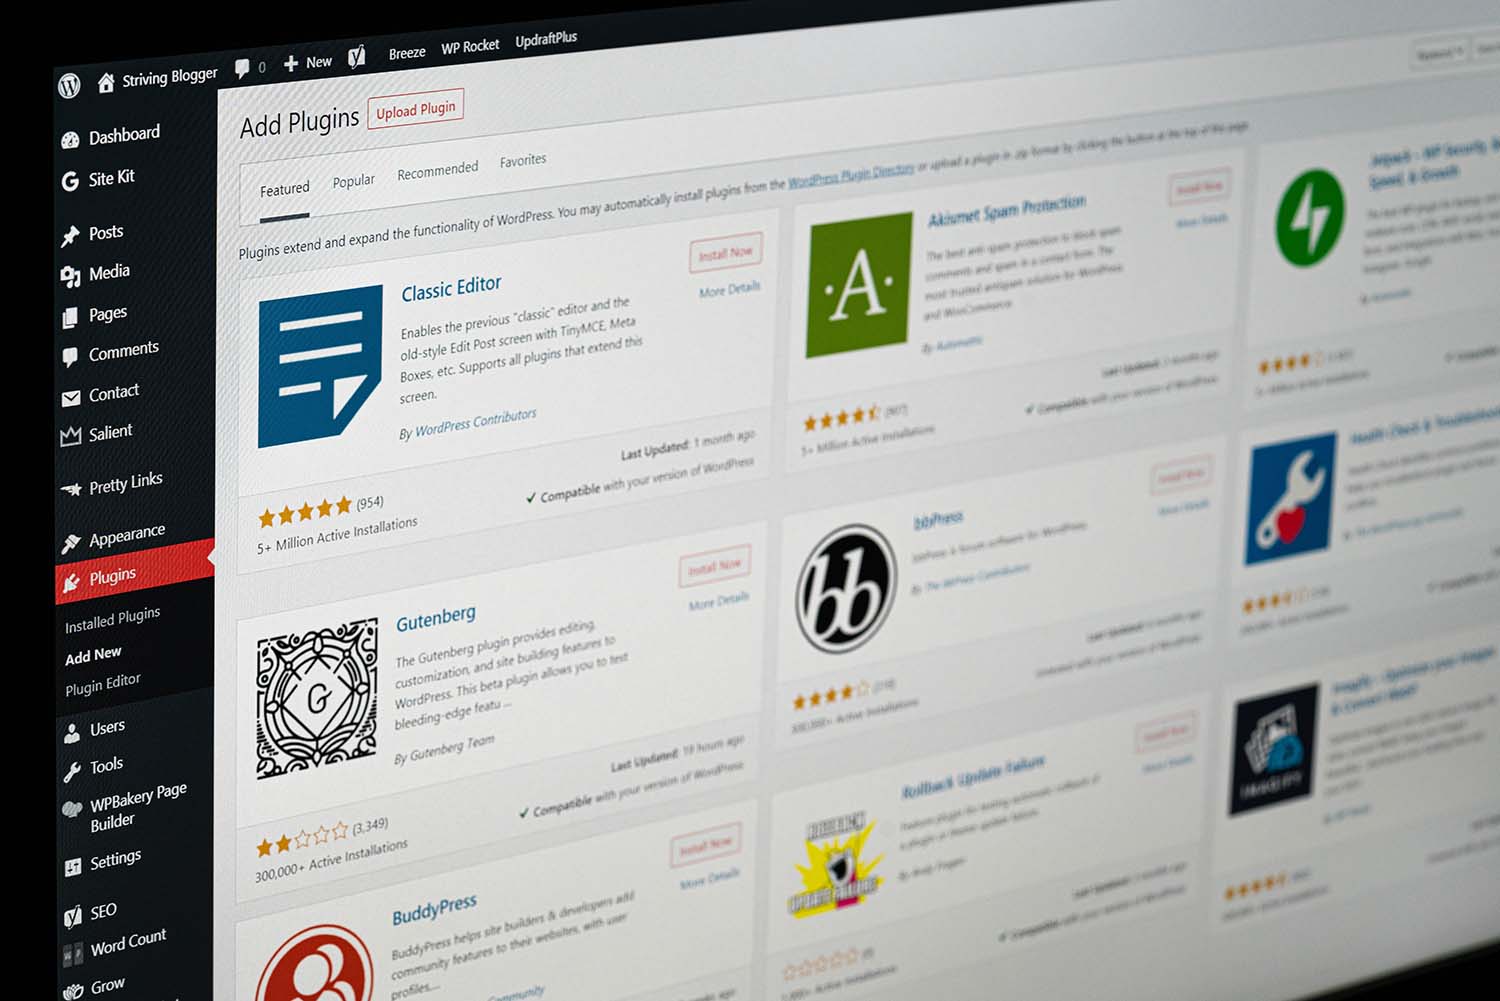
When you have a WordPress account, the next step involves installing all your themes and plugins. The WordPress software comes with a large selection of basic themes, but here’s a little secret for you: if you want your travel blog to stand out, then you don’t want to use a basic theme.
The better option would be to download a professional blog theme that you’ll have to pay for. These themes typically cost about $50, but it’s absolutely worth it. You can also buy blog theme designs online, or hire a web developer to create a unique website design for your site.
Also consider, at this point, that you might need a logo, so if you’re hiring a web developer ask for it to be included, although it’ll most likely cost extra. Next, you have your plugins, which you can download directly from WordPress.
Plugins give your site some additional features you may end up finding useful. An example of a plugin is ‘WP Rocket’, which works to speed up the loading time of your blog.

Photo, NeONBRAND.
5. Build your page
So you’ve chosen a name and a host, created a WordPress blog, and even developed your themes and downloaded your plug-ins. Now the real work starts. You need to build your website; starting with an ‘about me page’.
This page is probably going to be most important when knowing how to start a travel blog. It will be the most visited page on your entire blog, especially by newcomers, so you have to make it good. Your ‘About’ page should give a bit more detail about who you are, why you decided to start your blog, and maybe some contact information if someone wants to reach you.
As a travel blogger especially, readers should be able to gain some insight about your passion for travelling as well as the kind of content you’re going to deliver to them. Once you have that, you can go on to start creating some content. Your very first blog post shouldn’t be too long, and it should be engaging and interesting so that it draws in the audience.

Photo, Daddy Mohlala.
6. Create and promote on social media
Now that you’ve successfully created your blog, it’s time to create some good high-quality content. This means having a good eye for the tiny details in your surroundings.
This can be street food or street art; the best travel apps or destination inspiration.
Later, you can use your social media to promote each new piece of content. This is very important as this is one step you need to take to attract readers. If you have an Instagram, Twitter, or Facebook account, make posts about some of your travels, with your captions including links to your blog.
Also, include your website in the bio on your socials. You can also create a different social media page for your blog so you can separate your brand from your person… if that’s what you want. All in all, promoting is key to getting those views.
So, now you know how to start a travel blog, what are you waiting for? Get on the road, document your travels, and become the next big hit on social media and beyond. Good luck.


