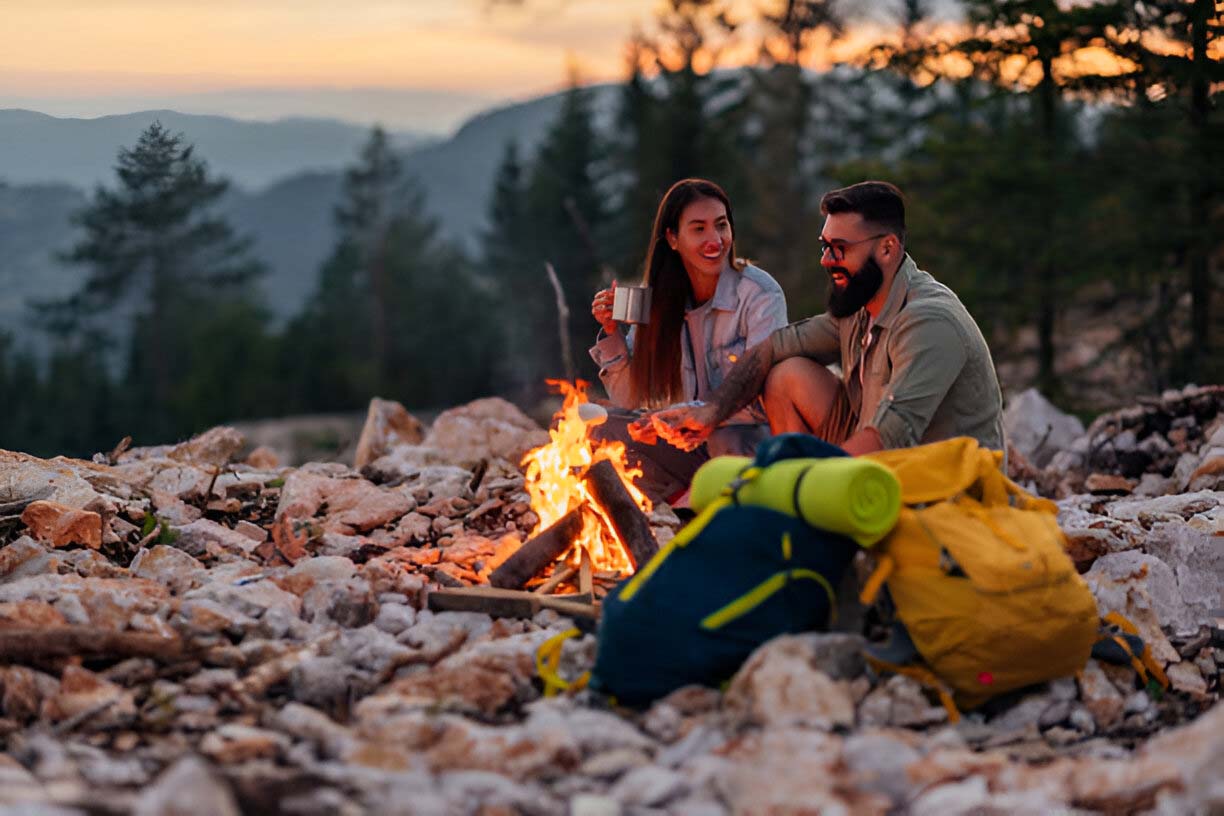
Ready to hit the trails and explore the wild unknown? Whether you’re scaling mountains, trekking through forests, or wandering across deserts, there’s one thing every backpacker knows: you need the right fuel to keep you going. And we’re not talking about your average, run-of-the-mill snacks. No way!
We’re diving into the world of backpacking food ideas that’ll not only sustain you but also tantalize your taste buds. From hearty, energy-boosting breakfasts to mouthwatering trail snacks and dinners that will make you feel like a gourmet chef under the stars, we’ve got you covered. So grab your pack, lace up those boots, and let’s get cooking on the go!
Adventure awaits, and with these food tips, you’ll be ready to tackle anything that comes your way.
Planning Your Backpacking Trip
Planning your backpacking trip is crucial for a smooth and enjoyable experience. Start by choosing your destination and thoroughly researching the area. Understand the terrain, trail conditions, and weather forecasts to avoid any surprises.
Plot out your route carefully, identifying key landmarks, campsites, and water sources along the way. Make sure you have a reliable map and possibly a GPS device as a backup.
Pack strategically—prioritize lightweight, essential gear and enough food and water for your entire journey. Always be mindful of Leave No Trace principles to protect the natural beauty you’re exploring, and remember to always make the most of your adventure.
Backpacking Strategy
When planning your backpacking trip, having a well-thought-out food strategy is essential to ensure you remain energized and capable of tackling the trail. Prioritizing nutrition is key: aim for a balanced intake of carbohydrates, proteins, and fats to sustain your energy levels.
Ideal choices include oatmeal and dried fruit for breakfast, nuts and jerky for snacks, and dehydrated meals or pasta for dinner. These options are nutritionally dense while keeping weight to a minimum.
Managing weight is crucial, as every ounce counts in your pack. Opt for lightweight, calorie-dense foods that won’t add unnecessary burden. Dehydrated or freeze-dried meals are particularly effective because they are both compact and easy to carry. Pre-portioning your meals can help avoid carrying excess food, and using resealable bags will keep everything organized.
Ease of preparation is another important consideration, especially after a long day on the trail. Choose backpacking meals that require minimal cooking and cleanup—simply adding boiling water and stirring should suffice.
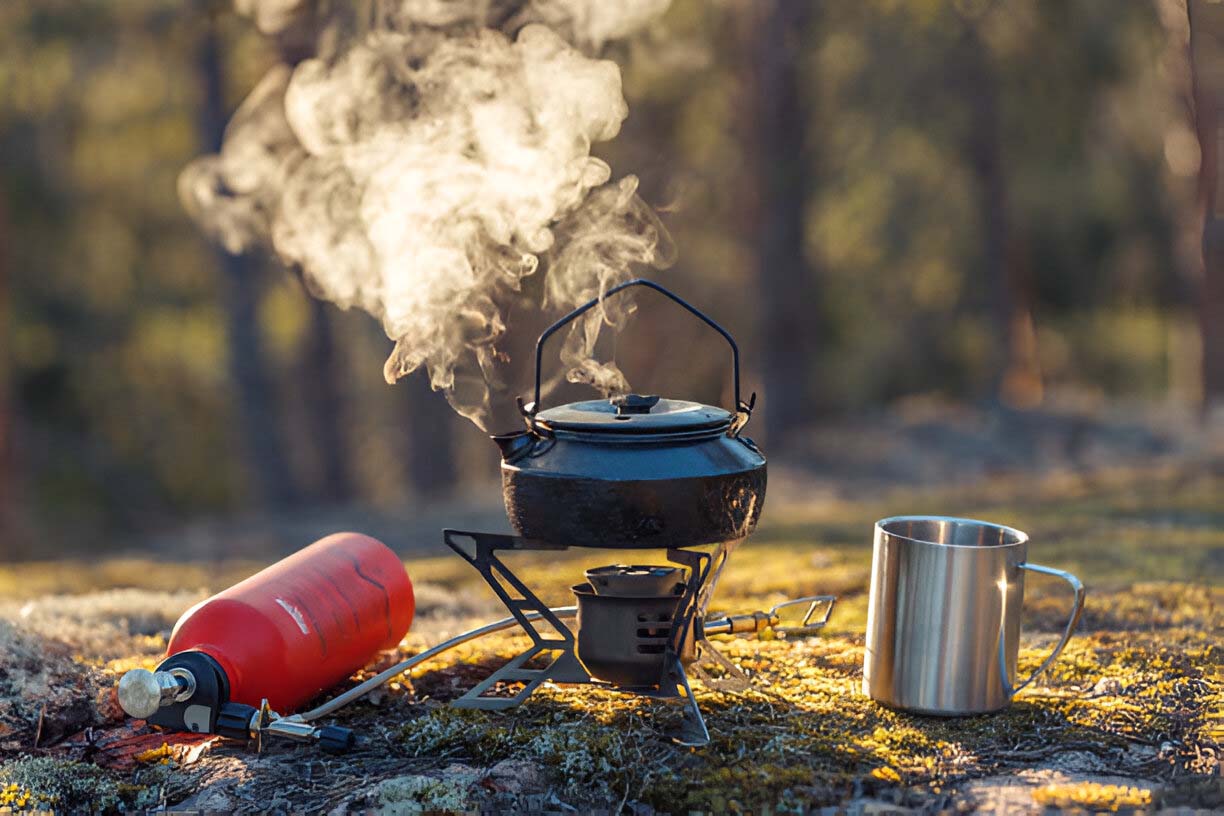
A lightweight stove and a single pot are generally sufficient for cooking. Additionally, a small, efficient spork and a lightweight mug are valuable additions to your kit.
By employing a thoughtful meal strategy, you can enjoy nutritious, easy-to-prepare backpacking meals that enhance your backpacking experience.
How Much Food Do I Need?
Determining how much food you need for a backpacking trip requires careful planning and consideration of several factors, including the duration of your trip, the intensity of your activities, and your personal caloric needs. Long trips will logically make backpackers extra hungry.
Here’s a guide to help you estimate your food requirements:
1. Calculate Daily Caloric Needs: How Many Calories Should I Consume?
On backpacking trips, the average backpacker needs around 2,500 to 4,000 calories per day, depending on the intensity of the hike and individual metabolism. For more strenuous hikes, aim for the higher end of the range, or better still, consume extra calories.
2. Plan for Three Meals a Day Plus Snacks:
Breakfast: Choose high-energy foods like oatmeal with nuts and dried fruit, or energy bars.
Lunch: Opt for lightweight, easy-to-eat options such as wraps, cheese, and nuts.
Dinner: Dehydrated or dried fare is ideal as they are lightweight and easy to prepare.
Snacks: Include a mix of nuts, jerky, desiccated fruit, and energy bars to keep your energy levels steady throughout the day.
Don’t forget to drink cold water and pack milk powder for warmer drinks.
3. Portion Control:
Pre-portion your backpacking meals to avoid overpacking. Use a resealable food bag or containers to keep stuff organized and easy to access.
4. Consider Weight:
Aim for backpacking food that is high in calories but low in weight. Dehydrated or freeze-dried foods are excellent choices, as they offer high nutritional value without adding much weight to your pack. Consider body weight also.
5. Hydration:
Don’t forget to account for water needs. Depending on your location, you may need to carry a water filter or purification tablets to ensure a safe water supply.
6. Duration of Trip:
For a weekend trip, packing food for three days is usually sufficient. For longer trips, consider resupply points along the trail or packing enough for the entire journey.
Example Calculation:
For a 3-day trip with moderate hiking:
Day 1: 2,500 calories
Day 2: 3,000 calories
Day 3: 2,500 calories
Total: 8,000 calories for the trip.
Pack accordingly, ensuring a balance of carbohydrates, proteins, and fats to sustain energy levels. Remember, it’s always better to have a little extra than to run short, but be mindful of the weight.

Preparing for Your Trip – Backpacking Meals
Preparing Your Own Meals
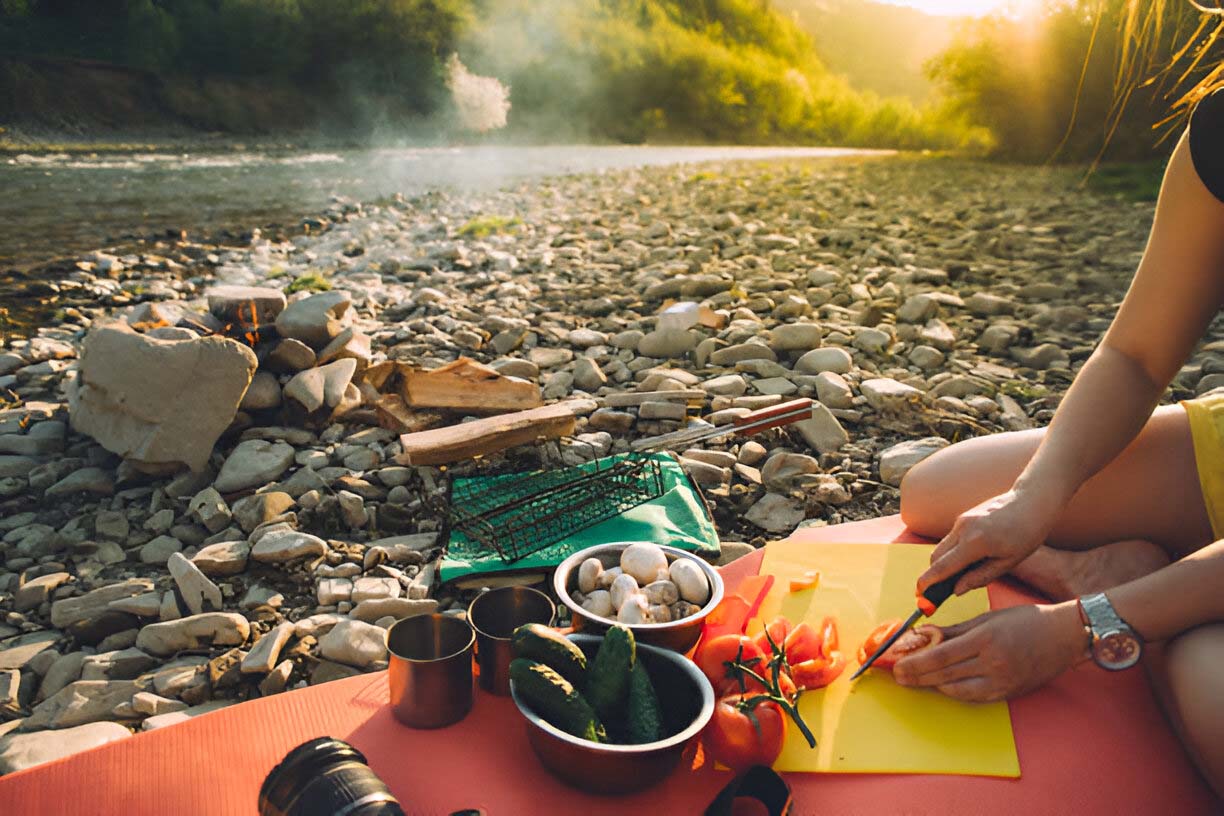
Preparing your own food for a backpacking trip not only allows you to tailor your diet to your specific tastes and nutritional needs, but it can also be a cost-effective and rewarding part of your adventure. Here’s a comprehensive guide to help you get started:
1. Shopping for Ingredients:
Start by shopping for ingredients at your local grocery store. Focus on items that are lightweight, non-perishable, and high in calories. Key staples might include:
Grains: Instant rice, couscous, quinoa, and pasta are excellent base ingredients that cook quickly and provide sustained energy.
Proteins: Canned tuna, chicken, or salmon in pouches, as well as shelf-stable tofu, lentils, and beans.
Fruits and Vegetables: Opt for fresh produce that can be dehydrated at home, or purchase dried fruits and vegetables.
Snacks: Nuts, seeds, energy bars, and dark chocolate.
Spices and Condiments: Small packets of olive oil, soy sauce, hot sauce, and a variety of spices to enhance flavor.
2. Dehydrating Your Own Ingredients:
Using a food dehydrator can significantly enhance the variety and nutritional value of your backpacking meals. Dehydrating your own ingredients allows you to control the quality and taste of your food. Here’s how to make the most of your dehydrator:
Vegetables: Slice carrots, bell peppers, onions, and mushrooms thinly and dehydrate them until they are crisp. These can be rehydrated easily in soups or stews.
Fruits: Dehydrate apples, bananas, berries, and mangoes for quick, nutritious snacks.
Proteins: Cook and dehydrate ground beef, chicken, or turkey. These can be added to rice dishes or pasta for a protein boost.
Meals: Prepare complete homemade meals like chili, spaghetti sauce, or stew at home, then dehydrate them. This way, you’ll have delicious, home-cooked meals ready to be rehydrated on the trail.
3. Packing and Storage:
Proper packing and storage are crucial to maintain the freshness and safety of your backpacking food:
Airtight Containers: Use resealable plastic bags or vacuum-sealed bags to keep food airtight. This not only preserves freshness but also protects against moisture and pests.
Portion Control: Pre-portion your meals into single servings. This simplifies meal prep on the trail and ensures you carry just the right amount of food.
Labeling: Label each bag with its contents and any cooking instructions. This will save time and reduce confusion when you’re preparing meals after a long day of hiking.
Compact Packing: Arrange your food bags in a way that maximizes space in your backpack. Consider using stuff sacks to organize meals by day or type.
4. Meal Preparation on the Trail:
When it’s time to prepare your meals on the trail, simplicity is key:
Boiling Water: Most dehydrated food just needs boiling water to rehydrate. A lightweight stove and a single pot are typically all you need.
Quick-Cook Foods: Choose ingredients that cook quickly to save fuel and time. Instant grains and pre-cooked dehydrated meats are excellent for this purpose.
Minimize Cleanup: Use your pot to eat from directly, and pack lightweight, multipurpose utensils. Consider using a small plastic scraper to clean pots and pans with minimal water.
Food Ideas
Breakfast Ideas
Instant oatmeal with dried fruit and nuts is a backpacker’s staple due to its ease of preparation and nutritional value. Customize your oatmeal with a mix of dried fruits like raisins, cranberries, or apricots and nuts such as almonds, walnuts, or pecans for added flavor and energy.
Powdered egg crystals with dehydrated hash browns or vegetables offer a fantastic protein source that can be easily paired for a hearty and savory breakfast option.
For a no-cook, grab-and-go breakfast, Bobo’s Oat Bars are a great choice. They are dense, nutritious, and come in a variety of flavors to keep your taste buds happy.
Whole wheat tortillas with a generous spread of peanut butter and a drizzle of honey make for a quick, energy-dense breakfast that requires no cooking.
Granola combined with powdered milk provides a crunchy, sweet, and satisfying breakfast. Instant smoothie packs made from powdered fruit and protein powder can be a refreshing and nutritious start to your day.
Lunch Ideas
For lunch, consider packing whole wheat tortillas with shelf-stable tuna or chicken, adding some dried veggies or cheese for extra flavor and nutrition.
Another great option is couscous salad with dehydrated vegetables and a drizzle of olive oil, which is both lightweight and easy to prepare.
Wraps with nut butter and honey are another excellent choice, offering a quick, energy-dense meal that’s both delicious and easy to pack.
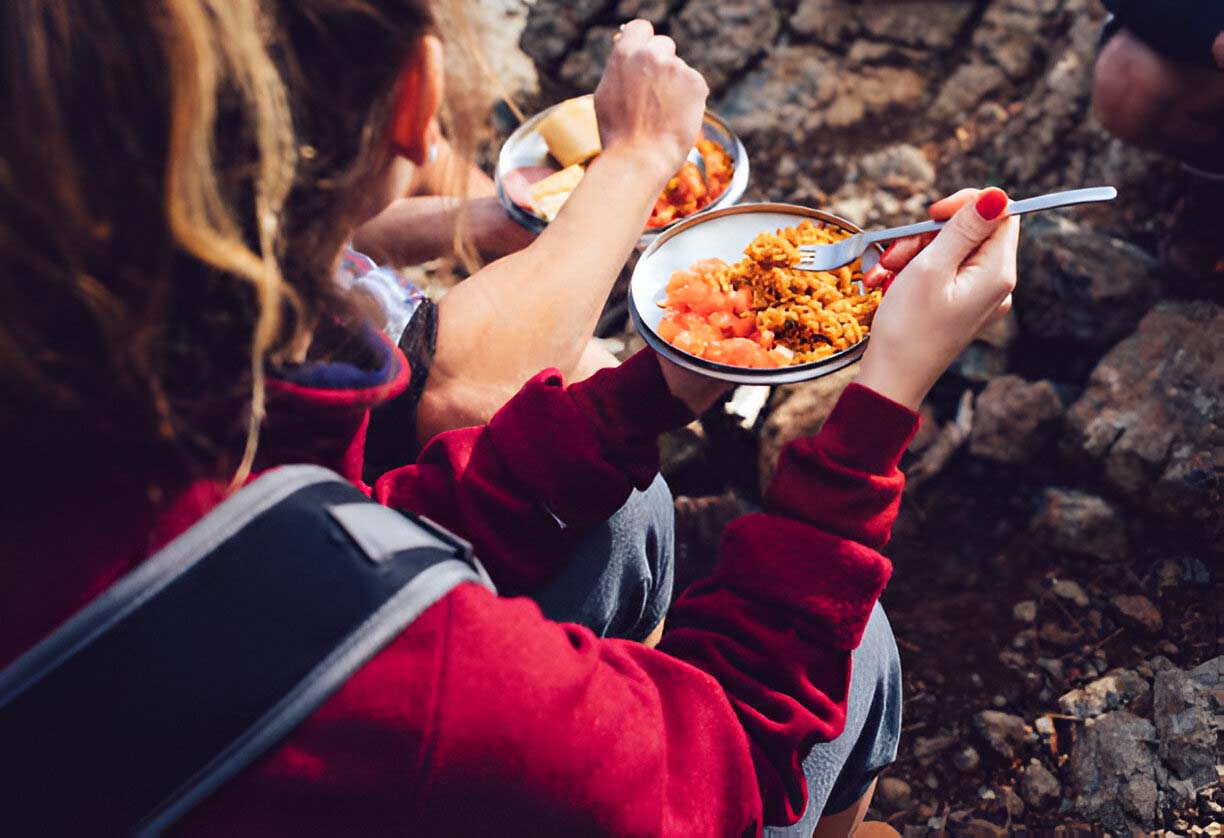
Dinner Ideas
Dried meals, such as those from brands like Good To-Go or Wild Zora, are convenient and offer a wide range of flavors and ingredients. Simply add dried mushrooms to boiling water, let them rehydrate, and enjoy a hot meal without the hassle of cooking from scratch.
Dehydrated food paired with instant fried rice and a drizzle of olive oil make for a hearty meal as do rice noodles. You can customize these meals with dehydrated vegetables, meats, or tofu for added flavor and nutrition. They cook quickly and require minimal cleanup, perfect for conserving energy at the end of a long day.
For those who prefer homemade meals, consider preparing dishes like Spicy Instant Rice with Thai Basil at home and dehydrating them for the trail. These meals can be rehydrated with hot water and provide a flavorful, comforting dinner experience under the stars.
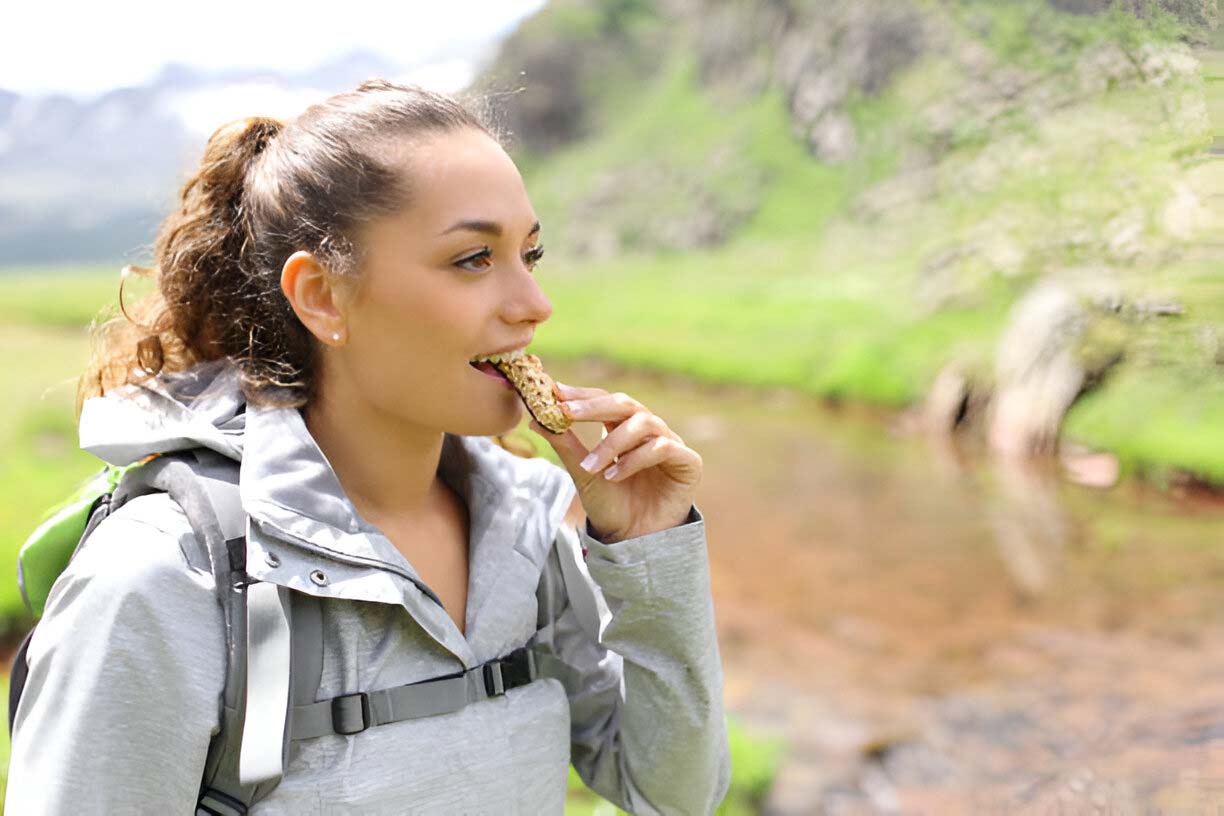
Snacks To Consider
When it comes to snacks on the trail, having a variety of options of extra food ensures you stay energized and satisfied between meals.
Think about your backpacker’s pantry and consider bringing an individually packaged mix of nuts and seeds for a perfect balance of protein and healthy fats. Dried fruits like apricots, mangoes, or berries offer a sweet, energy-boosting option that’s easy to carry and enjoy.
Energy bars or protein bars come in various flavors and provide convenient nutrition to keep you going.
Trail mix, combining nuts, seeds, desiccated fruit, and perhaps a bit of dark chocolate, is a classic choice that offers both quick and sustained energy.
For a protein-rich snack, jerky and meat bars are ideal, offering portable sources of protein that are perfect for refueling on the go.
Lastly, Packaroons provide a lightweight and calorie-dense snack option made from ingredients like coconut and nuts, delivering a quick energy boost without weighing you down.
With these snack options, you’ll have a range of nutritious and convenient choices to fuel your adventures on the trail.
Food Storage and Disposal
Food storage and disposal are crucial aspects of responsible backpacking to ensure safety, minimize environmental impact, and efficiently manage your supplies. Here’s how to handle food storage and disposal during your backpacking trip:
Food Storage:
1. Resealable Bags (Ziplock Bags):
Use resealable plastic bags or ziplock bag to properly store your individual meal portions and snacks. These bags help keep food organized, prevent leakage, and reduce weight by eliminating bulky packaging.
2. Airtight Containers:
For items like dehydrated food, powdered ingredients, or snacks that need protection from moisture and pests, consider using lightweight, airtight containers. These containers help preserve food freshness and prevent spills in your backpack.
3. Bear Canisters or Bear Bags:
In bear country or areas with other wildlife, use a bear canister or hang food in bear bags to prevent animals from accessing your food. Follow local regulations and guidelines for proper food storage to minimize wildlife encounters.
4. Cooking Gear:
Keep cooking gear clean and separate from food storage areas to prevent contamination. Use pots or pans with lids to cover cooked food until you’re ready to eat.
Food Disposal:
1. Pack Out All Waste:
Practice Leave No Trace principles by packing out all food waste, including food scraps, wrappers, and biodegradable items like fruit peels and nut shells. Carry designated trash bags or resealable bag for waste disposal.
2. Strain Food Scraps:
When washing dishes or cleaning cooking utensils, strain food scraps and pack them out in your trash bag. Dispose of food scraps responsibly to avoid attracting wildlife and minimize environmental impact.
3. Waste Water:
Dispose of waste water (used for cleaning dishes or cooking) at least 200 feet away from water sources, campsites, and trails. Use a small strainer or mesh bag to catch food particles before disposing of water.
4. Biodegradable Soap:
Use biodegradable soap sparingly for washing dishes, ensuring it is disposed of away from water sources and in accordance with local regulations. Minimize soap use to reduce environmental impact.
5. Sanitization:
Maintain proper hygiene by sanitizing cooking utensils and food storage containers regularly, especially when handling raw meats or perishable foods. Use sanitizing wipes or a diluted bleach solution for cleaning.
By practicing proper food storage and disposal techniques, you can ensure a safe and environmentally responsible backpacking experience. Be mindful of local regulations and Leave No Trace principles to preserve the wilderness for future generations of outdoor enthusiasts.
Cooking System
When choosing a cooking system for backpacking recipes, several factors come into play, including weight, fuel efficiency, ease of use, and versatility. Here are some popular and highly regarded cooking systems that are well-suited for backpacking recipes:
1. Canister Stoves:
Canister stoves are lightweight, compact, and easy to use. They screw onto a fuel canister filled with isobutane-propane fuel mixtures. They typically have built-in piezo igniters for convenience.
Pros: Fast boil times, easy setup and operation, precise flame control, and compact size.
Cons: Canisters can be bulky to pack out when empty, and they may not perform well in very cold temperatures.
2. Liquid Fuel Stoves:
Liquid fuel stoves (such as those using white gas or kerosene) are versatile and perform well in varying conditions, including cold temperatures and high altitudes.
Pros: Reliable performance in extreme conditions, ability to refill fuel bottles, and adjustable flame control.
Cons: Heavier and bulkier than canister stoves, require priming before use, and may be more complex to maintain.
3. Alcohol Stoves:
Alcohol stoves are lightweight and use denatured alcohol or similar fuels. They are often DIY or minimalist designs, consisting of a burner and a pot stand.
Pros: Very lightweight, simple design, and fuel can often be found or refilled easily.
Cons: Slower boil times, less efficient fuel consumption compared to canister or liquid fuel stoves, and less precise flame control.
4. Integrated Systems (Jetboil, MSR Reactor):
Integrated systems combine a stove, pot, and sometimes a heat exchanger in a single unit for maximum fuel efficiency and fast boil times.
Pros: Extremely fast boil times of just a few minutes, excellent fuel efficiency, compact and all-in-one design.
Cons: Can be heavier and bulkier than other stove systems, limited to specific pot sizes and configurations.
5. Wood-Burning Stoves:
Wood-burning stoves use sticks, twigs, or biomass found in the environment as fuel, reducing the need to carry fuel.
Pros: No need to carry fuel, lightweight if made from titanium or other lightweight materials.
Cons: Requires a steady supply of dry biomass, can leave a trace (ashes) on the ground, and may not be permitted in certain areas due to fire regulations.
Conclusion
Choosing the right backpacking foods is crucial for maintaining energy levels and optimizing your outdoor experience, in just a few minutes you can create backcountry meals that can combat hiker hunger and embrace your favorite flavors.
From quick and nutritious breakfasts like oatmeal with desiccated fruit to convenient lunches and dinners such as freeze-dried meals or simple wraps with anything from sun dried tomatoes to instant potatoes, thoughtful meal planning ensures you’re prepared without weighing down your pack. Snacks like trail mix, jerky, and energy bars are great ideas and provide essential boosts throughout the day.
By focusing on lightweight, nutrient-dense options and adhering to Leave No Trace principles for waste disposal, you can enjoy your next trip with confidence, knowing you have the fuel needed to sustain your journey.


